
Creating eye-catching social media graphics is no longer optional—it’s essential for grabbing attention and increasing engagement. Whether you’re a small business owner, a content creator, or a digital marketer, well-designed graphics help you connect with your audience faster and more effectively.
In this step-by-step guide, we’ll walk you through how to create stunning social media graphics that not only look amazing but also align with your marketing goals.
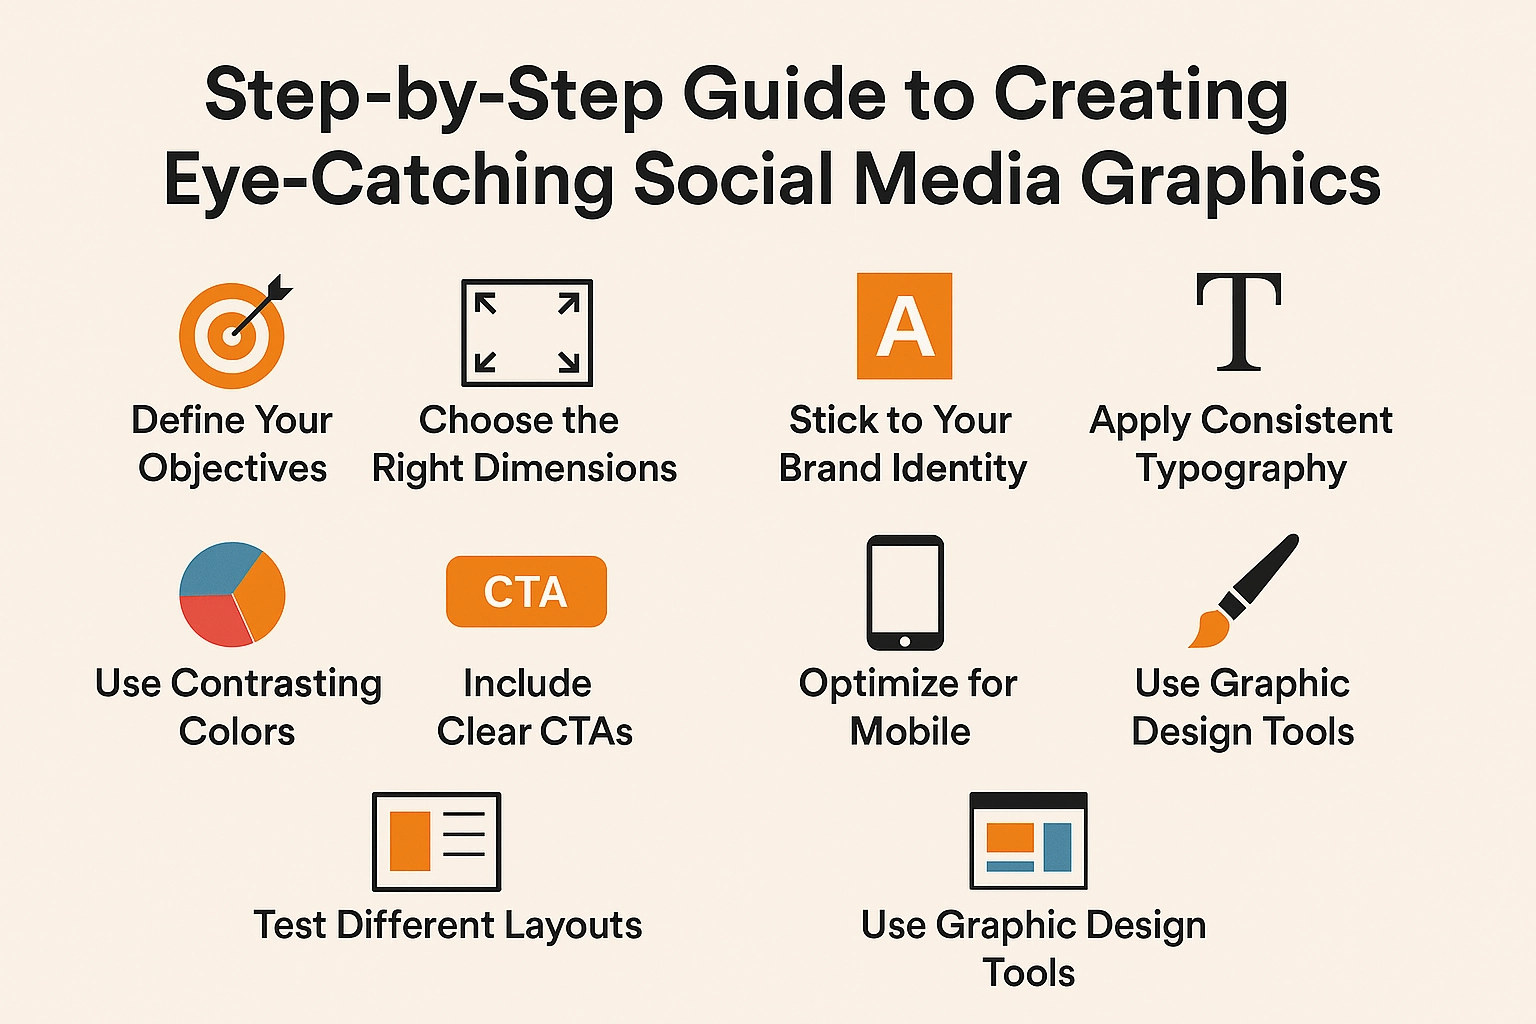
Step-by-Step Guide to Creating Eye-Catching Social Media Graphics
Creating eye-catching social media graphics is no longer optional—it’s essential for grabbing attention and increasing engagement. Whether you’re a small business owner, a content creator, or a digital marketer, well-designed graphics help you connect with your audience faster and more effectively.
In this step-by-step guide, we’ll walk you through how to create stunning social media graphics that not only look amazing but also align with your marketing goals.
Why Visuals Matter in Social Media Marketing
Studies show that visual content gets 94% more views than text-only content. Posts with relevant images gain 650% higher engagement than those without.
Graphics are essential for:
- Building brand recognition
- Communicating messages quickly
- Driving more shares, likes, and comments
Step 1: Define Your Goal
Before diving into design, define the purpose of your graphic:
- Are you promoting a product?
- Do you want to increase brand awareness?
- Is the goal to drive traffic to your website? Clear goals guide your design direction, tone, and call-to-action.
Step 2: Know Your Target Audience
Understanding your audience ensures your graphics resonate with them.
Ask yourself:
- What is their age group?
- What are their interests?
- Which social platforms do they use the most? Designing for a teenage audience on TikTok will look different from designing for business professionals on LinkedIn.
Step 3: Choose the Right Platform and Dimensions
Each platform has different image requirements:
- Instagram Post: 1080 x 1080 px
- Facebook Cover: 820 x 312 px
- LinkedIn Post: 1200 x 627 px
- Pinterest Pin: 1000 x 1500 px
Wrong dimensions can distort your image or crop vital information.
Tip: Use tools like Canva or Adobe Express that offer pre-set templates.
Step 4: Select a Compelling Color Palette
Colors evoke emotion. Use brand colors or appealing combinations to draw attention.
- Use Contrasting colors to highlight key elements
- Stick to 2-3 main colors for consistency
- Use color psychology: Red = urgency, Blue = trust, Green = calm A visually consistent color palette strengthens your brand’s identity.
Step 5: Pick Fonts that Speak Your Brand
Typography is a visual voice.
- Use 2–3 fonts maximum
- Combine a bold font for headers and a simple font for body text
- Ensure readability on all devices Avoid overly decorative fonts unless they align with your brand vibe.
Step 6: Use High-Quality Images and Icons
Blurry or pixelated visuals can ruin your design.
- Use royalty-free image sites like Unsplash, Pexels, or Pixabay
- Use vector icons for clarity and scalability
- Make sure images align with the message
Step 7: Maintain Visual Hierarchy
Guide viewers’ eyes to what’s most important.
- Use larger fonts for headlines
- Contrast colors to highlight CTAs
- Spacing and alignment to establish order Visual hierarchy helps in information retention and drives user action.
Step 8: Keep It Simple and Clean
Simplicity is elegance.
- Avoid clutter
- Use ample white space
- Stick to one core message per graphic Clean layouts are easier to process and aesthetically pleasing.
Step 9: Add Your Branding Elements
Always include:
- Your logo
- Your brand colors
- Your website or social handle Branding elements make it easier for viewers to recognize and remember you.
Step 10: Review, Optimize & Test
Before publishing:
-
- Proofread your text
- Check the resolution on desktop and mobile
- A/B test different versions to see which performs better
Iterate based on feedback and metrics.
Tools for Creating Stunning Graphics
Here are some beginner to pro-level tools:
- Canva – Best for beginners
- Adobe Illustrator – Great for detailed vector work
- Figma – Ideal for team collaboration
- Crello, Snappa, Piktochart – Other useful alternatives
Pro Tips for Better Engagement
- Keep up with design trends (like minimalism or 3D visuals)
- Incorporate short motion (GIFs or animation)
- Localize your graphics for different regions
- Repurpose old designs with fresh colors and texts
Conclusion
Creating eye-catching social media graphics is an art that combines creativity with strategy. By following these 10 steps, you’ll be well-equipped to design posts that not only stand out but also convert.
Whether you’re working on Instagram posts, Facebook ads, or Pinterest pins, let each graphic be a visual ambassador of your brand.
If you want to learn more about social media design or get custom graphics for your brand, reach out at makazad.net!
Recent Comments